
Godox G1 - "Connect failed" Error
So, you got yourself a nice new Godox flash. Naturally, you check the firmware, and if it's not up to date, you sit down and dive in to get it to the latest specs. And then – “Connect Failed”. Luckily, here's the solution!
The instructions are below, and you can skip straight to them if you like. Or you can read on for a bit of context. A few years back I decided to try out Godox gear for the first time, specifically the TT685N speedlight and XPro trigger. The new flash was in many ways a nice change after using a Nikon SB-700 for over seven years. One of the reasons for that is that it offers firmware upgrades. In my opinion, firmware upgrades are great (especially for brands that are not high-end) because among other things they allow the manufacturer to follow up on some features of their product based on customer feedback. In that way, they can also polish some mistakes even after the product has been released.
Noticing that my flash had v3.0 and that v3.1 was released I was ready to upgrade it. I downloaded the software and new firmware version, excitedly started the upgrade process, and then I hit a wall – “Connect Failed”. The annoying error was persistent and, although I figured out that it was most probably caused by a missing or broken digital signature (blame Godox), I just couldn’t get a grip on a working solution. After trying the usual clean boot options and enabling and disabling different things and typing stuff in the command prompt… Finally, after a lot of browsing, I stumbled on a real working solution posted by Michael Wlach. Hats off to him for sharing the instructions. With hopes that this blog post will make it easier for someone to stumble upon these same instructions too, I am reposting them below. Good luck!
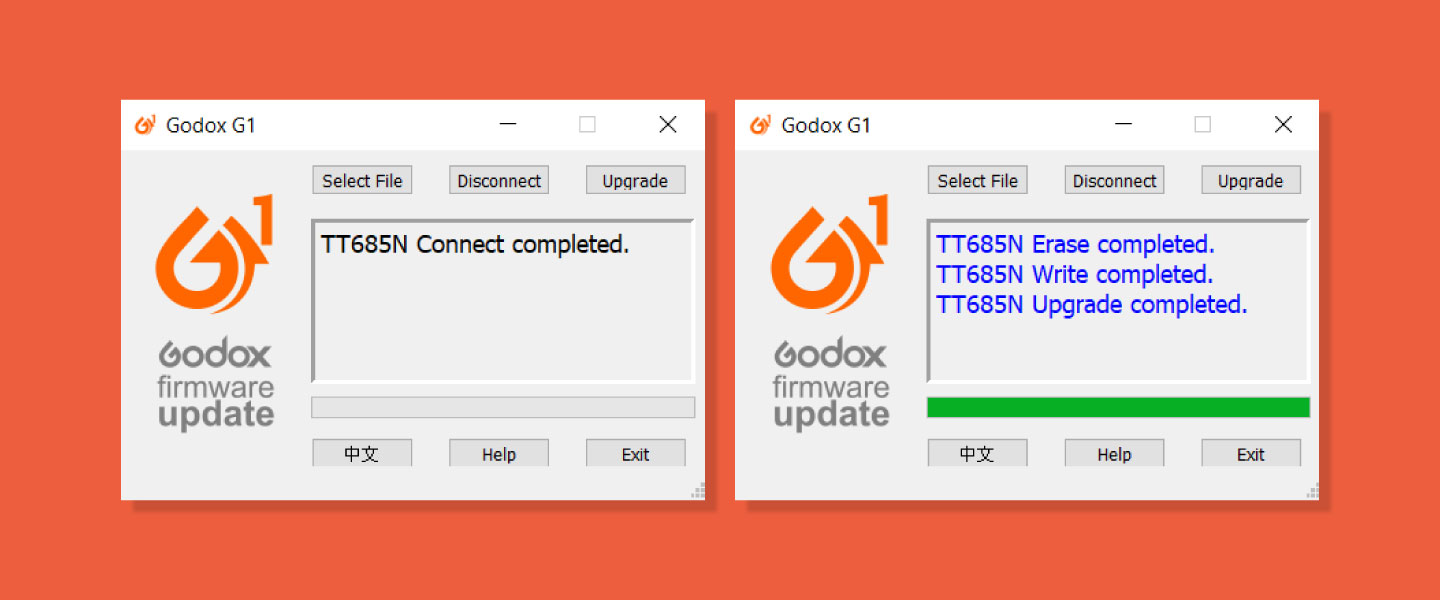
Proof of a working solution.
Instructions:
- Disable "Secure Boot" in your BIOS if you have a UEFI BIOS on your PC.
- Turn off driver signing inside Windows 10.
Open a command prompt as Administrator and type in the following command: "bcdedit.exe /set nointegritychecks on" and press "Enter".
Once you’ve completed updating your firmware you can turn on driver signing back on if desired by typing the following command: "bcdedit.exe /set nointegritychecks off". - Make sure to run the installer and afterwards the program by right clicking and choosing "Run as Administrator".
- Only connect the unit by USB to the computer AFTER running the installer and opening the program. Always remove the batteries and press the test button to discharge your flash before connecting it to your PC.